ServiceNow -LDAP (Active Directory) Integration
Do you know what is LDAP?
Light Directory Access Protocol is a protocol used to locate data about individuals, organizations or other resources such as files or devices in a network.
Imagine a phone book, what exactly the phone book have? Phone numbers. That phone book tell us what is the user’s phone number and address. So if you want to find a phone number, you check the phone book correct.
In this exercise, I’ m going to integrate user’s located in active directory to service now sys_user table. What is the benefit of doing so?
Think about it for a second.
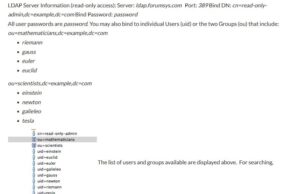
Before setting up LDAP to your servicenow, you need few information which normally will be provided by LDAP admin
1. LDAP server name:
2. Port number:
3. Login distinguished name:
4. Login password:
5. SSL port:
6. Search directory
(I found a free public ldap server from internet and I will be using their information for my exercise. Link is here )
Once you have all the info about your LDAP, you’re ready to setup active directory integration.
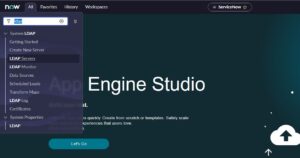
1. For that login to your ServiceNow instance, search for “ldap”, choose “create new server”
 2: Provide details and submit
Type of LDAP server
server URL
starting search directory
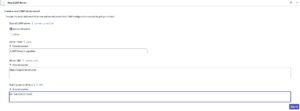 3: Provide details and save
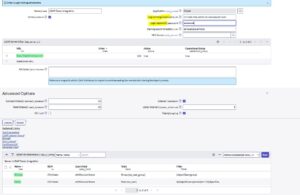 4. You should get a message as connected successful.
If yes move to next step
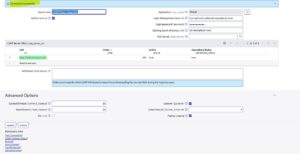 5. Now give other information like attribute info
( attribute info is nothing but imagine your active directory have 10000 of data and if you’re pulling all the info it can reduce the performance. So to avoid this scenario choose info what you really need. In my case I am going to choose the users I need only)
There is also few advanced settings about connection, read and ssl. For your information servicenow uses 636 as the default ssl port, incase your LDAP is using different ssl then that port has to be mentioned in your configuration)
Listener: A dedicated process that periodically searches for changes done to users and groups on the LDAP server. LDAP listener can only synchronize objects that map to the user (sys_users) and (sys_user_group) tables
( nothing is changed in this example)
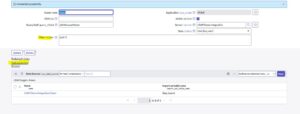
6. Click LDAP OU definitions and configure
 7.
7.  8. By default there was some info in RDN and filter, I removed all of those. What I want is all the users to be uploaded to servicenow.
Click test connection
 9. Filter worked fine, click browse to varify
 10.
10. 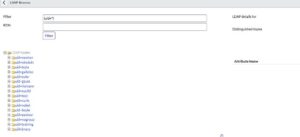 11. Now you have to move the data to servicenow using one of the 2 methods
a. Manually
b. Scheduled job
To load the users manually, select the filter
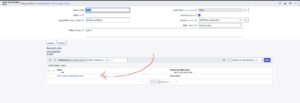 12. Select all records – Create transform map(give a name) -mapping assist(map fields and save)-transform (before transform check how many users are in your instance, how many you will be transforming)
 13. I got 623 users in my instance before transform.Check how many after transform
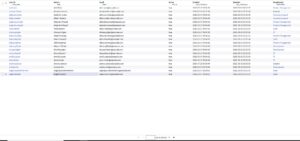 14.
14.  15. Uploads completed
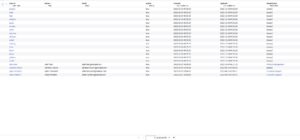 Congratulation. You have successfully completed LDAP active directory integration with ServiceNow. Time to celebrate 🙂
Special thanks to : SKFacts & BasicoServiceNow


